FIELDGUIDE 02 // GEOMETRY & MICRO-HABITATS

Find the useful angle

Moving a camera forty centimetres lower and angling it away from the midday sun often produces a clearer improvement than buying a higher-resolution sensor. Good placement respects both the animal's need for cover and your neighbours' boundary lines.

FOUR PROVEN GARDEN ZONES

Where visitors naturally pause

Z1

The Hedgerow Pinch-Point

Where a fence meets a dense shrub border, ground mammals follow the vertical edge for shelter from overhead owls. Set the lens 22 cm above soil level, aimed obliquely along the base of the timber board so visitors stay in frame for two full seconds.

Z2

The Staging Branch

Rather than pointing directly at a plastic seed tube, focus on a mossy lateral branch 1.2 metres away. Tits, finches, and woodpeckers pause on this natural perch to scan for sparrowhawks, giving you crisp, unhurried portraits in soft daylight.

Z3

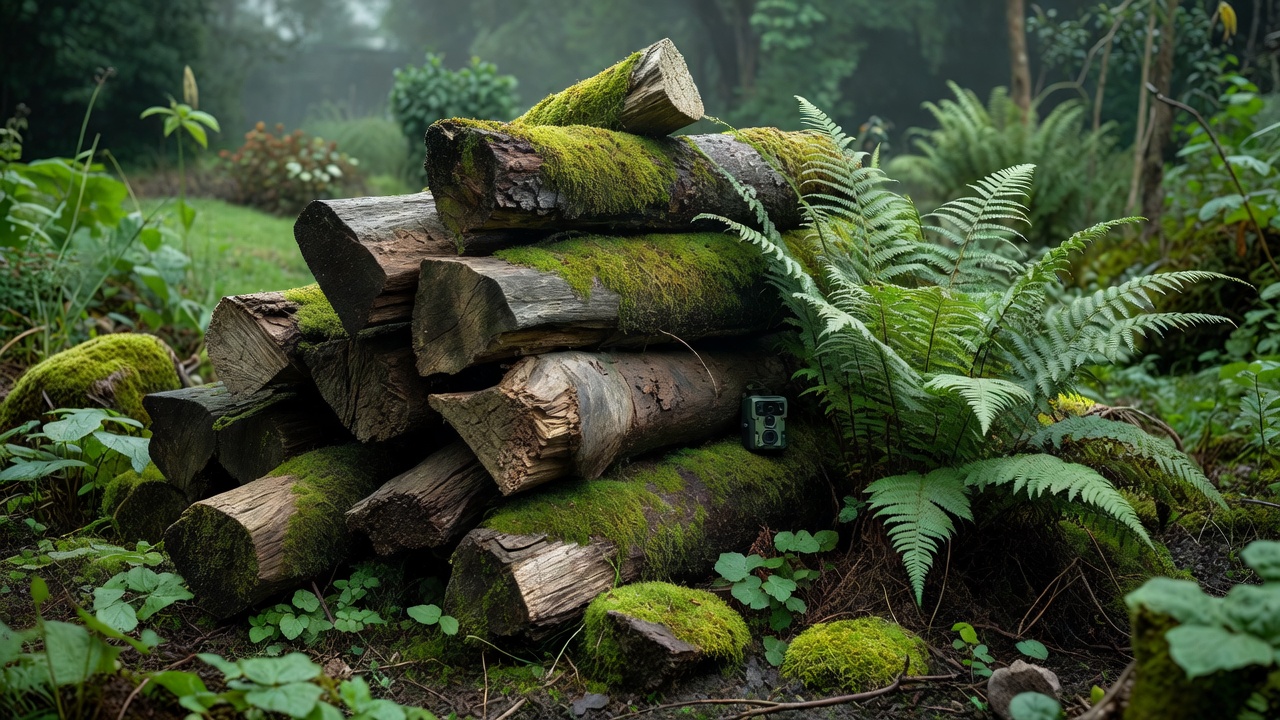
Decaying Log Piles

A stack of seasoned birch or oak logs in damp shade attracts beetles, woodlice, wrens, and foraging amphibians. Position the camera 1.5 metres back facing north, where dappled canopy light remains balanced all day.

Z4

Pebble Beach Watering Dish

Sink a shallow terracotta saucer flush with the turf and line it with river cobbles. Mount the camera at a 20-degree downward pitch with a dark shrub backdrop so splashing droplets catch side-light cleanly.
VERTICAL HEIGHT & COMPASS BEARING

Avoid glare, sky blowouts, and boundary spill

Keep the upper edge of the frame below the top of your own perimeter fence or hedge. This simple rule eliminates bright sky exposure errors and ensures your camera never captures neighbouring windows, footpaths, or private driveways.

Low-angle view of a mossy garden log pile with a discreet camera positioned beside ferns

NEXT: READ A VISIT CAREFULLY